Thursday, September 26, 2013

chai tea for christmas baskets

I'm so excited about my Christmas baskets for family, friends, teachers, and co-workers this year!  They will be bursting with homemade goodness.  I won't ruin all the surprises for everyone, but I decided to get to work today on the one that would keep the longest:  chai tea concentrate.

I started making this last year based on a recipe from The Elliott Homestead.  It has been a delicious way for all of us to drink more raw milk, as you end up diluting the concentrate 1:1 with milk or water.  I wanted to be able to share the goodness with all my loved ones, but the recipe is perishable . . . But then I had the bright idea to process the jars and can the chai tea concentrate!  Then it would be shelf-stable!  The heavens opened and poured forth showers of happiness.  Okay, it wasn't that big of a deal.  But I was pretty pleased with myself.  Like baby Todd when he scoots himself forward like a walrus.

Here's how I did it.

First, the chai recipe.  I made a super-big batch, since I was going to can 20 pints of it.  If you want a more reasonably sized batch to keep in your fridge, cut all these amounts by a third.

Chai Tea Concentrate
18 cinnamon sticks
60 allspice berries
15 cardamom pods
45 cloves
75 black peppercorns
2 T dried ginger
3/4 t freshly grated nutmeg
1 C plus 2 T loose rooibos tea
3 T vanilla
3/4 C sugar (feel free to sub sucanat or honey)


Gather all your spices.  Put the allspice, cardamom, cloves and peppercorns into a plastic bag and beat the smithereens out of it with a rolling pin.
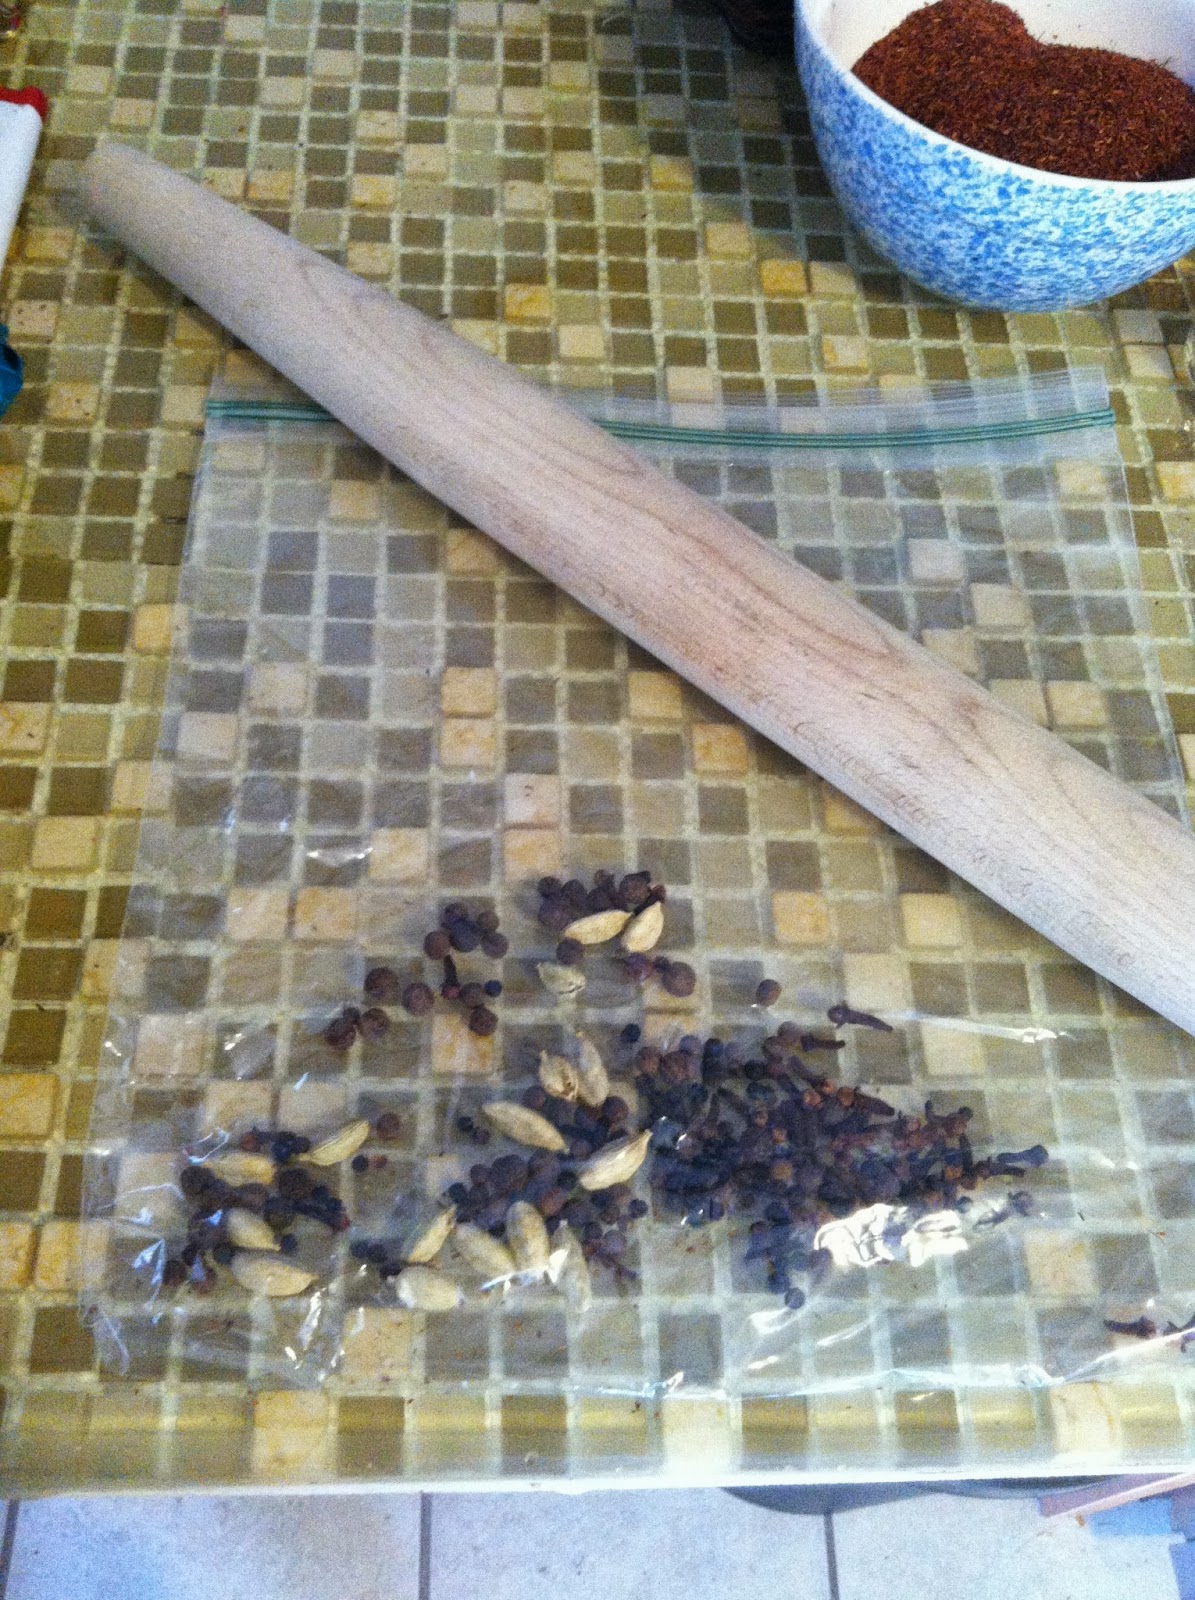

It will look like this after you're done:


Take all your ingredients minus the vanilla and sugar, and mix with 18 cups water in a large stockpot.  Bring it to a boil, then lower the heat and simmer for 20 minutes.  Then, strain it all into a clean bowl.


While you're waiting for your tea to steep, it's a good time to sterilize your jars for canning.  The thing that has always deterred me from canning before is the idea of a steam-bath in my kitchen.  It just sounds unappetizing during the warmer months.  Then, I discovered a new method:  oven canning!  Brilliant!  Here's how you do it:

Turn your oven to 250.  Place your jars, lids, bands, and equipment on sheet pans and place in the hot oven for at least 15 minutes.


Once they have sterilized for 15 minutes, remove from heat.  By now you will have strained your chai concentrate.  Using a sterilized cup or ladle and funnel, fill the jars with the concentrate, leaving about 1 inch of head space.  Then put on the lids and bands.  Put the filled and topped jars back into the 250 oven for at least 15 more minutes.  Then pull them out and let them cool to room temperature.  Check them and make sure they sealed once they are cool - try to indent the top of the jar.  If it won't budge, it's good to go!

Since these are going into Christmas baskets, I went ahead and printed up tags with ingredients and instructions, and tied them on with some pretty ribbon.  Yay!  Last year I slacked on Christmas big-time.  This year is going to be the year . . . I can just feel it!

Note:  apparently oven canning is super-controversial.  Old-old school canners (like your great grandmother) did it, but apparently the USDA says it's not safe to prevent botulism.  I do some other stuff the USDA doesn't like, so maybe I'm not the best test subject.  All that to say . . . enter at your own risk please!  This recipe would be super-easy to do a standard hot-water bath canning,

[This post submitted to the Homestead Barn Hop 9/29/14 and Pennywise Platter 10/2/14.]

Wednesday, September 25, 2013

takeout at home

We are Asian takeout junkies.  Or eat-in.  Or whatever.  My philosophy is that if I'm going to spend money and energy to go out to eat, I want something that I can't make at home.  Asian food (Chinese, Japanese, Thai, Korean, Vietnamese), with its many special ingredients and equipment, usually fits the bill.  We are lucky to live in a place that has phenomenal options for all Asian cuisine nearby. 

But sometimes you just want fried rice, and you don't want to pay a markup for it.  As I've been working to streamline my kitchen experiences (hello, toddler and newborn!), fried rice has been a regular on our weekly menu.  Vicki really likes it, too.

After making my favorite stirfry the other night, I had leftover basmati rice, steamed perfectly by the appliance from heaven - the rice cooker.  (Sidenote:  all rice is not created equal!  I used to just buy the cheapest one, thinking it was all the same.  Basmati costs a little more, but it cooks up fluffy and delectable every time.)  I decided to go after shrimp fried rice.  I almost always have shrimp and peas in the freezer, and carrots, eggs, soy sauce, rice vinegar, and sesame oil in the fridge.  So this is also a perfect "pantry" kind of meal.

This recipe uses coconut oil for frying.  I'm always trying to work more coconut oil into my body, whether it's through deodorant, using it to moisturize my face, or in cooking.  It's such a healthy fat!


Okay, here's what you need.  As with all stir-frys, have everything you need ready to go and close at hand, because it goes fast:

Shrimp Fried Rice
2 C leftover steamed rice (very important that it's leftover, refrigerated overnight - you can't make fresh rice for this because it will be too gummy)
1 egg, beaten
2 T coconut oil (you may need more during the frying process)
4 oz frozen raw shrimp, thawed and peeled
1/4 C frozen peas
1/4 C diced carrots
1/4 C soy sauce
2 T rice vinegar
2 T dark sesame oil

Whisk together the soy sauce, vinegar, and sesame oil in a bowl and set aside. 

Place 1 T coconut oil in a large skillet over medium-high heat.  When it smokes add the egg and fry quickly.  Once it is done, remove to a cutting board and let cool.  Put the remaining coconut oil into the skillet and add the carrots and peas.  Stir and cook for 2-3 minutes.  Add the shrimp and stir and cook for another 2-3 minutes, until they start to pink up.  If it sticks, add more oil.  Add the rice into the pan.  Continue stirring for another couple minutes.  Add the soy sauce, vinegar, and sesame oil.  Stir until all of the liquid has evaporated.  Add the egg back into the fried rice.  Serve right away!  Serves 2.


You could add any meat into this that you wanted - thinly sliced chicken, beef, or pork.  Just quickly fry it over high heat before you get started, and then add it in at the end of cooking.